Field sketching for texture: graphite, ink, and rubbing
Field sketching for texture: graphite, ink, and rubbing
When the aim is to capture the feel of a surface rather than a complete likeness, three simple approaches often come to hand: graphite rubbing, fine-line ink drawing, and graded graphite shading. Each has distinct affordances for speed, fidelity, and later studio work. This note outlines the practical differences and suggests small exercises to compare them in the field.
Graphite rubbing
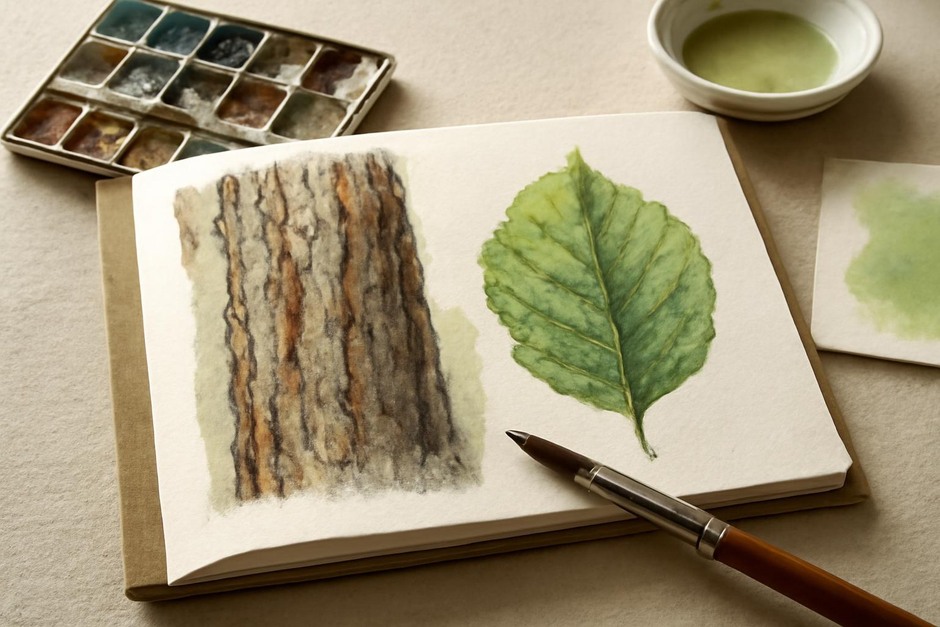
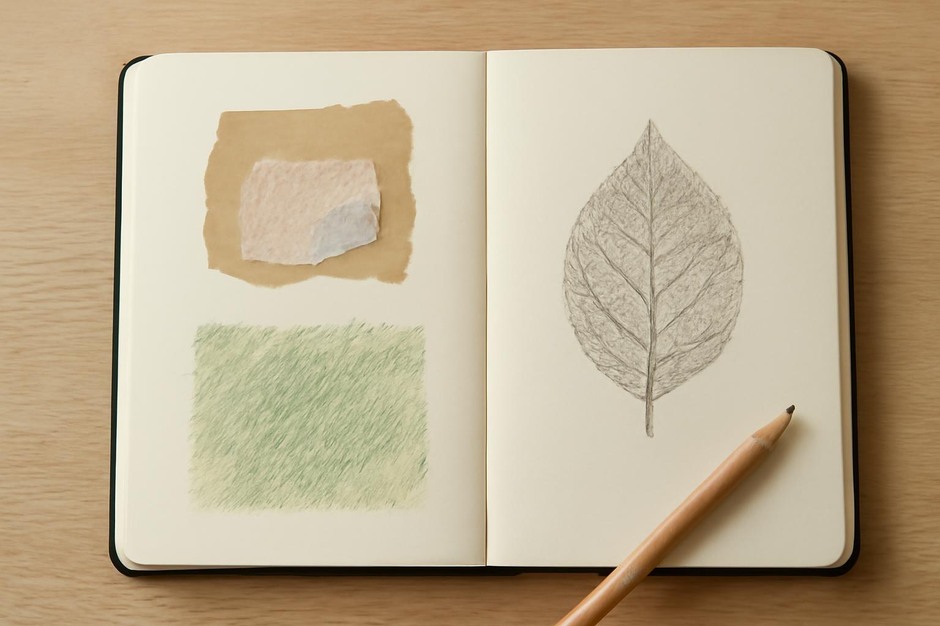
Graphite rubbing uses direct contact: place a sheet of thin paper over a textured surface and rub with the side of a soft pencil. The technique records subtle relief and can be startlingly immediate for bark, leaf veins, or weathered stone.
- Materials: thin paper (onion-skin, tracing paper, or thin notebook pages) and a soft pencil (B–4B).
- Strengths: fast, tactile, high-fidelity in relief detail, works in dim light.
- Limitations: records only surface topography, not colour or tone; fragile as a primary record; scale is constrained by paper size.
Try a small set of rubbings from a single tree: bark, knot, and a leaf impression. Later in the studio, these can be used as reference textures to combine with tonal studies or colour swatches.
Fine-line ink
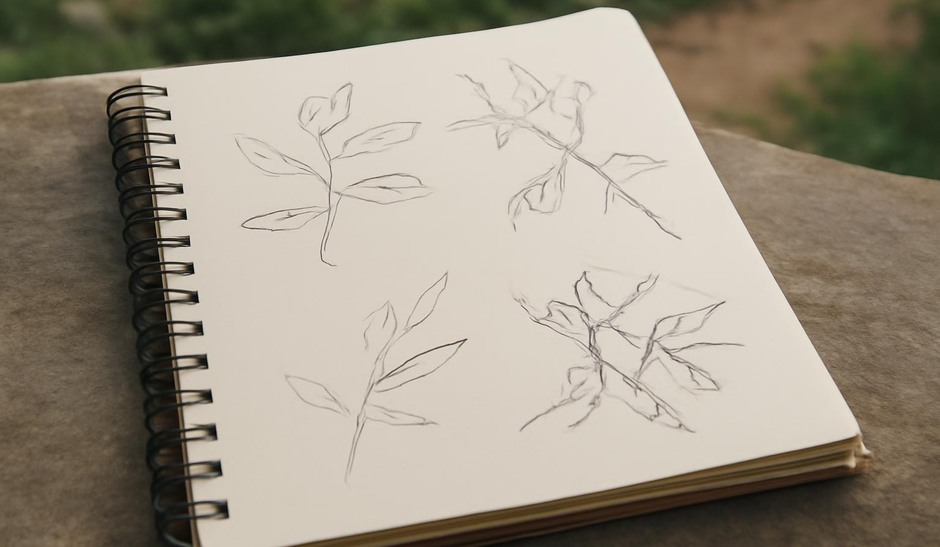
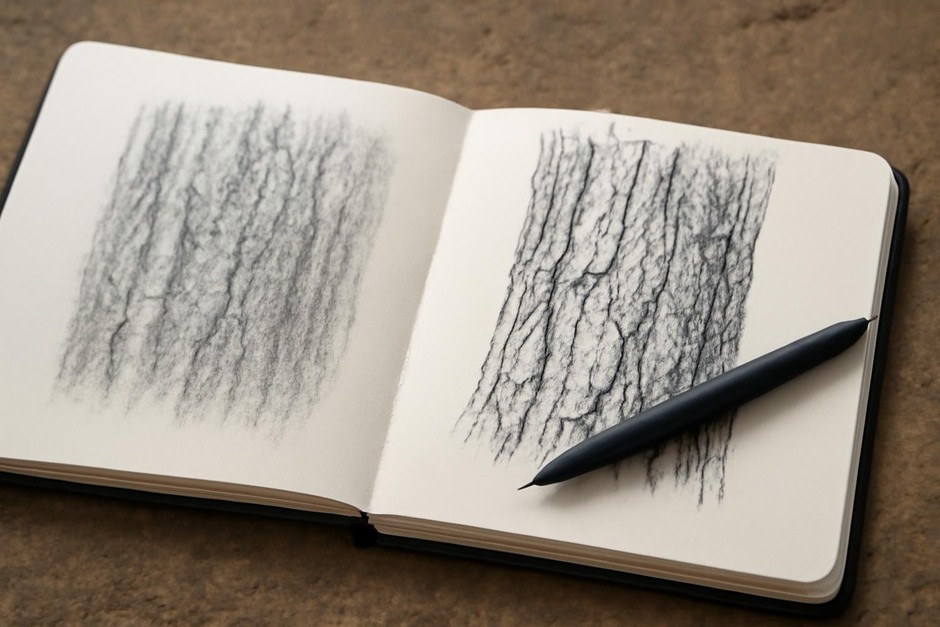
Ink drawing concentrates on edge, line, and pattern. A fine-nib pen emphasizes contours, splits, and repetitive marks such as scales, flakes, or lichen edges. Ink is well suited to note-making that will be reproduced or scanned because lines remain clear and stable.
- Materials: water-resistant fine liner or fountain pen with a fine nib and mid-weight sketchbook paper.
- Strengths: durable, clear at small scale, excellent for pattern and structure, pairs well with later watercolour washes.
- Limitations: less forgiving of mistakes; tonal subtleties require hatching or stippling and take practice.
In the field, work three small studies: a close-up hatch for texture, a broader contour showing how texture fits into a form, and a shorthand notation that records recurring marks you might want to preserve in later studio work.
Graded graphite
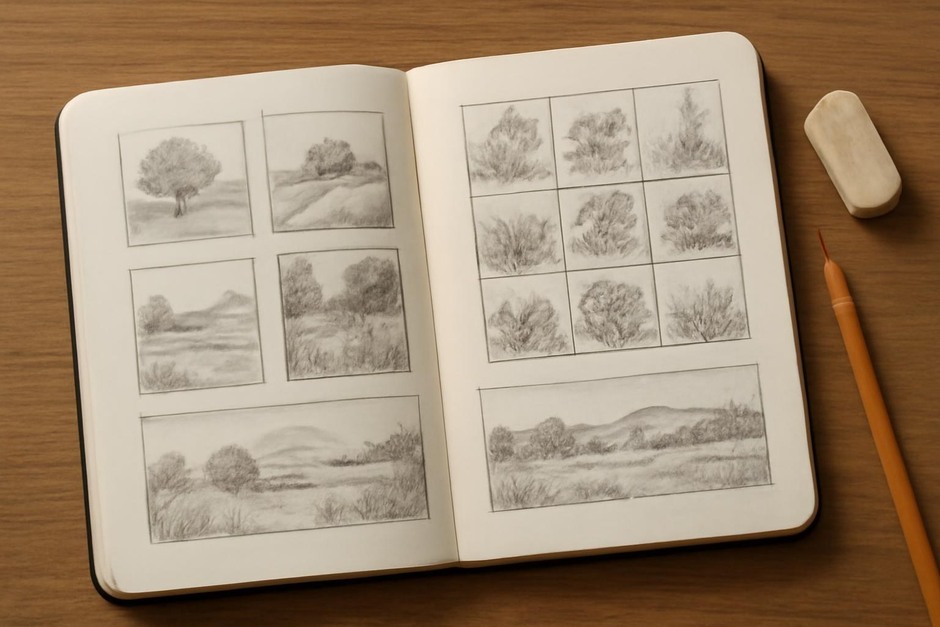
Graded graphite shading captures tonal range and soft transitions. Using a range of pencil grades (HB to 6B) and blending with a paper stump or finger gives a sense of volume as texture sits across a form.
- Materials: small set of pencils, eraser, blending stump, heavier sketchbook page to take smudging.
- Strengths: conveys depth and light, helpful for studying how texture affects volume, easy to correct and revise.
- Limitations: can be slower than rubbing or ink; smudging is a concern outdoors.
A simple exercise: select a branch and render a short tonal study that follows a single light source. Concentrate on how raised areas catch light and how recessed areas fall away. This emphasizes the three-dimensional aspect of texture rather than only its pattern.
Comparative suggestions
Set aside an hour with a single subject and do a short rubbing, a fine-line study, and a graded graphite study. Keep each study small and label them with date, time, and a note about light and surface feel. Compare what each method recorded clearly and what was lost. The rubbing may give unmatched surface information but little about colour or shadow; ink will precisely show pattern; graphite shows modeling and soft shadow.
None of these approaches is inherently superior. They provide different kinds of information. Over time, combining their outputs — using rubbings for texture reference, ink for pattern language, and graphite for volume — can enlarge the field record and make subsequent studio work richer.
Use these methods as parallel ways of seeing rather than substitutes. The discipline of making three small records of the same subject sharpens attention and builds a practical vocabulary for texture that you can rely on in varied observational conditions.